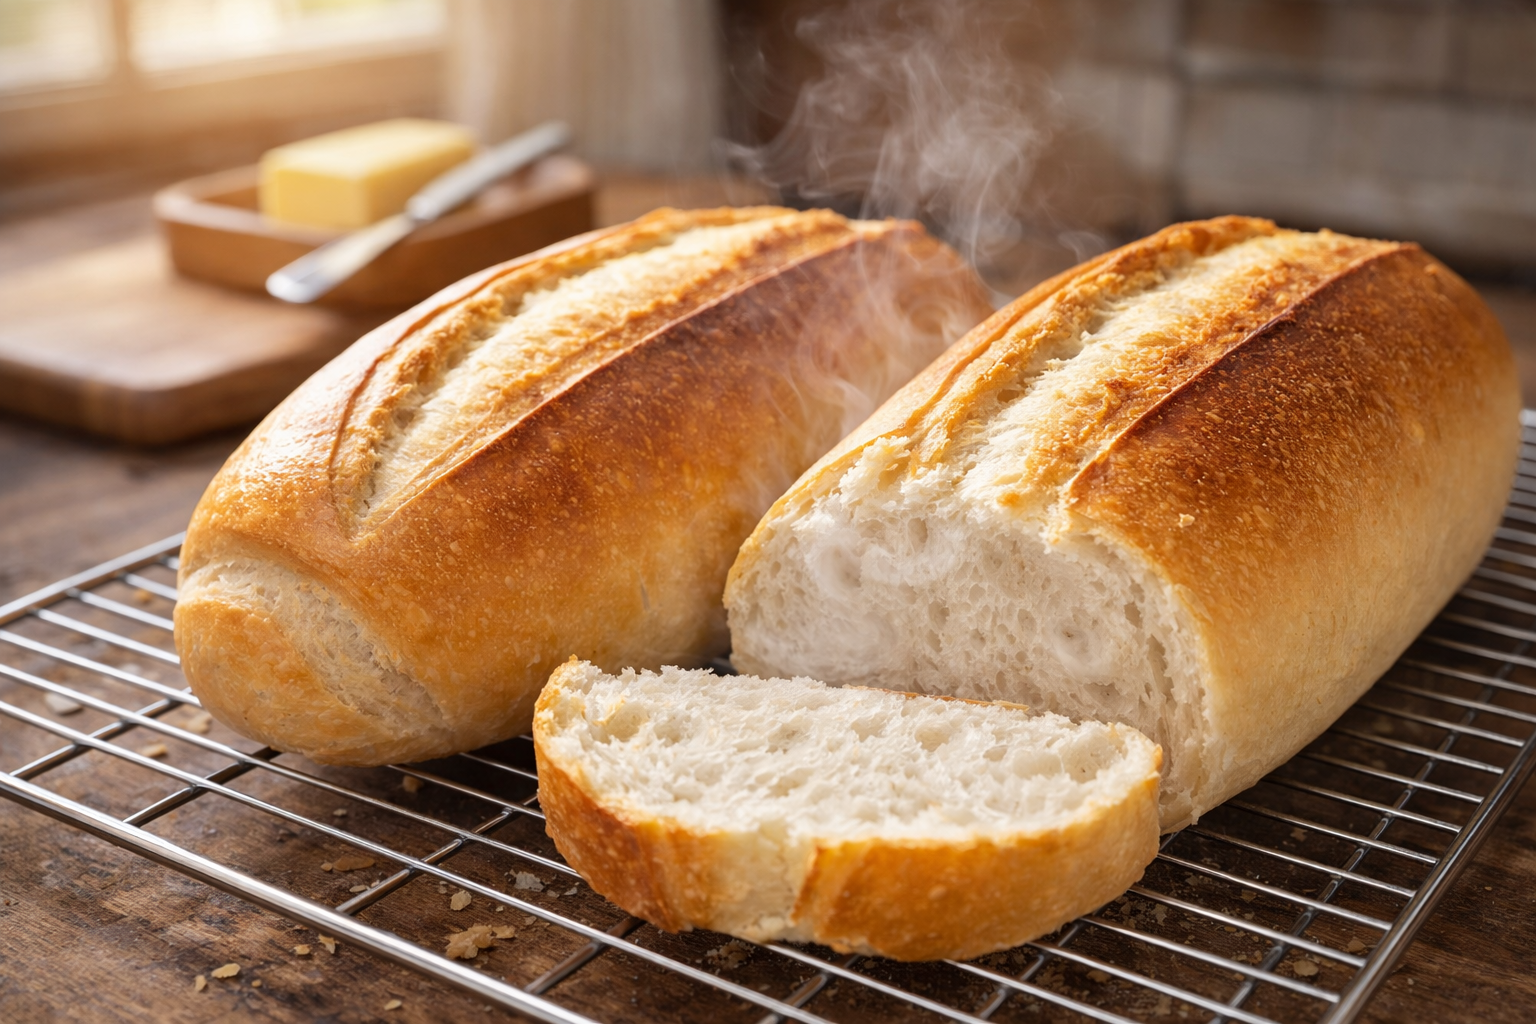
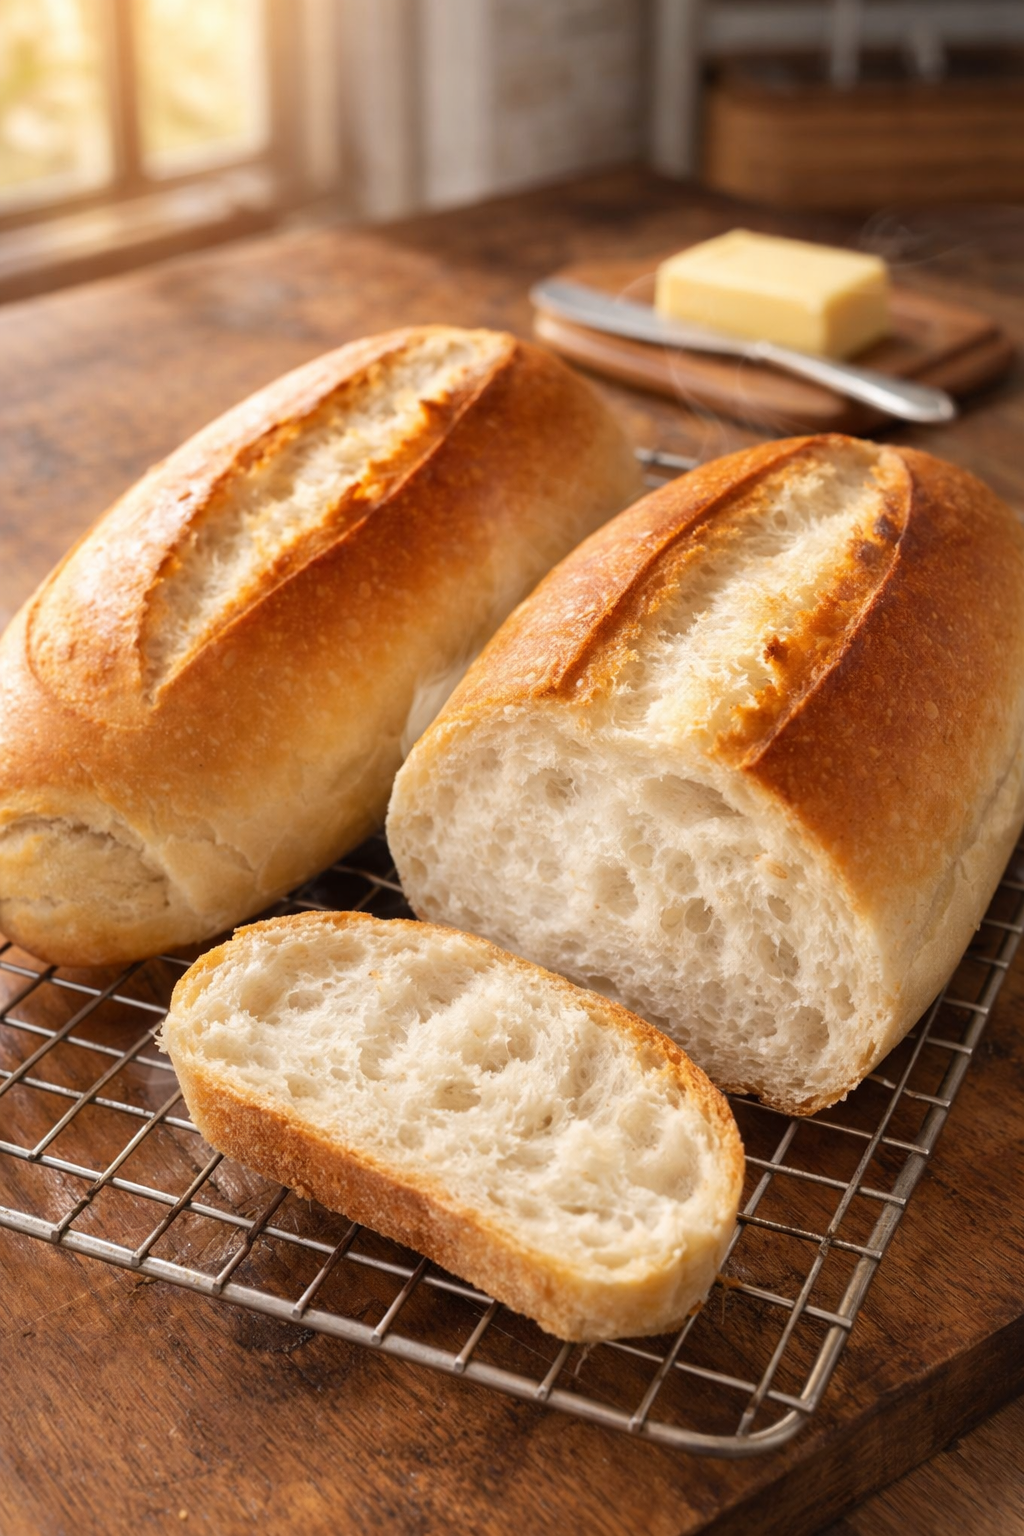
There is absolutely nothing in this world that compares to the smell of freshly baked Pão Francês (Brazilian-style French Bread) wafting through a local bakery (padaria) early in the morning. It is the ultimate breakfast staple in Brazil, traditionally served warm, split open, and slathered with butter that melts instantly.
While it shares a name with European breads, the Brazilian version has its own distinct identity: an incredibly thin, shatteringly crisp golden crust that gives way to a cloud-like, pillowy-soft interior. Inspired by traditional methods, this foolproof recipe uses simple pantry staples to recreate that magical bakery experience right in your own kitchen.
Grandma’s Secrets for the Perfect Golden Crust
Baking bakery-quality bread at home requires a little bit of science. Here are the three non-negotiable rules to get that perfect crunch:
- The Power of Ice-Cold Water: Always use very cold water when mixing the dough. The cold temperature slows down the yeast activation during the heavy kneading process, preventing the dough from overheating. This results in a much tighter, more elastic gluten network and a better rise.
- The Magic of Steam: Professional bakeries use steam-injection ovens. To replicate this at home, placing a tray with water at the bottom of your oven is crucial. The steam keeps the skin of the dough moist during the first minutes of baking, allowing the bread to expand fully before the crisp crust forms.
- The Sharp Slash: Making a quick, shallow cut (called scoring) on top of the bread right before it goes into the oven isn’t just for looks. It guides the bread to expand upward cleanly rather than bursting at the sides.
Homemade French Bread (Brazilian Style – Pão Francês)
Ingredients
Method
- In a large mixing bowl, add the all-purpose flour and create a small well in the center. Add the sugar, salt, and dry yeast into the well.
- Gradually pour the ice-cold water into the center while mixing with a wooden spoon or your hands until a shaggy dough comes together.
- Transfer the dough to a clean surface. Knead vigorously by hand for about 10 minutes (or use a stand mixer fitted with a dough hook) until the dough becomes completely smooth, shiny, and elastic.
- Divide the dough into 2 equal portions for medium loaves, or cut into smaller pieces to shape into traditional individual rolls (pãezinhos).
- Place the shaped dough onto a greased or parchment-lined baking tray. Cover gently with a clean kitchen cloth and let it rise in a warm spot for about 40 minutes.
- Using a very sharp knife or a razor blade, make one quick, shallow lengthwise cut on top of each loaf. Mist the top of the dough lightly with a water spray bottle.
- Preheat your oven to 250°C (480°F). Place an empty, oven-safe baking tray at the very bottom of the oven and fill it with hot water to create a steam-filled environment.
- Place the bread tray in the oven. Bake at 250°C (480°F) for 10 minutes, then reduce the temperature to 200°C (390°F) and bake for another 10 minutes.
- Carefully remove the water tray from the bottom of the oven and continue baking the bread for 30 more minutes. (Optional: turn on the broiler during the last 10 minutes for an extra deep golden crust).
- Remove from the oven and let it cool slightly on a wire rack. Slice and serve warm with plenty of butter!
Video
Notes
- The Perfect Companion: This bread is the base for our famous Buraco Quente (Meat Sandwich) recipe! If you have leftover bread tomorrow, use it to make that delicious savory snack.
- How to Revive Stale Bread: If your bread loses its crunch the next day, don’t throw it away! Just mist it lightly with a tiny bit of water and pop it into a hot oven or air fryer at 180°C (350°F) for 3 to 5 minutes. It will come out tasting brand new and crackly again.