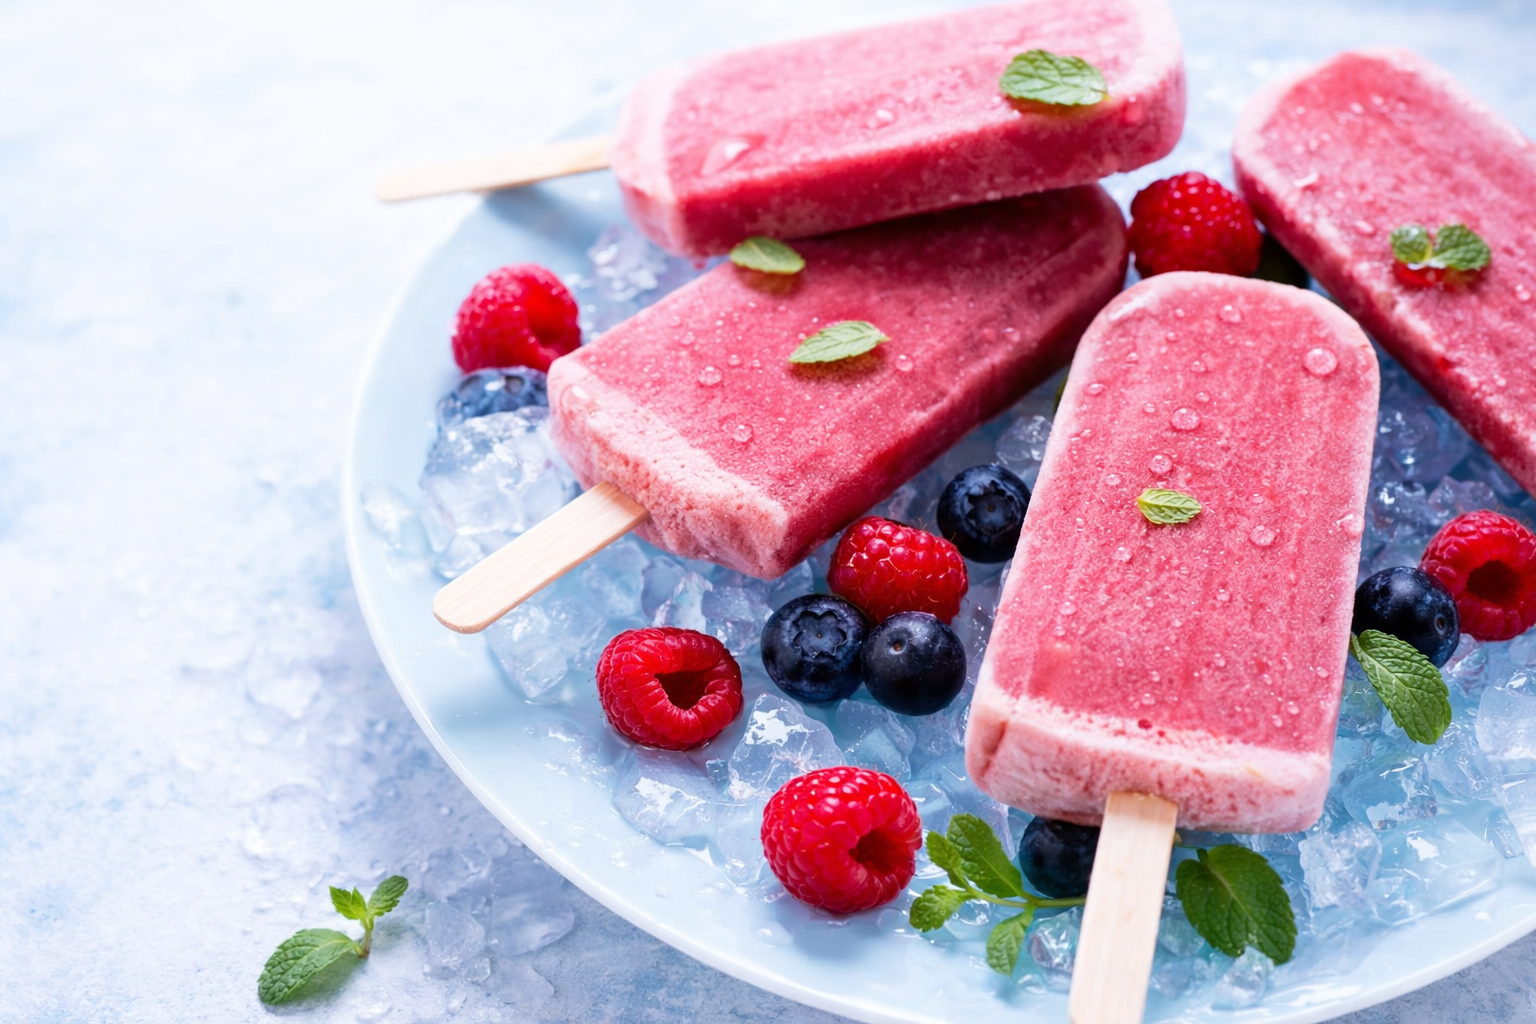
There is nothing quite like a refreshing frozen treat to bring back the magic of childhood summers. These creamy homemade ice pops (traditionally known as picolés) are incredibly rich, smooth, and simple to make.
Instead of buying store-bought popsicles packed with artificial preservatives, this recipe uses simple kitchen staples to create a velvety base. It is the perfect interactive recipe to make with kids on a sunny afternoon, allowing everyone to customize their own pops with colorful sprinkles or fresh fruit!
Why This Recipe Works
- Ultra-Creamy Base: Combining whole milk, condensed milk, and heavy cream ensures a rich, smooth texture that doesn’t turn into a hard block of ice.
- 100% Customizable: This single base works beautifully with any fresh fruit, chocolate chips, or fun toppings you have on hand.
- Budget-Friendly: Makes a large batch of premium gourmet ice pops for a fraction of the price of store-bought alternatives.
Ingredients
The Ice Pop Base:
- 2 cups whole milk
- 1 can sweetened condensed milk (395g)
- 1 box heavy cream / media crema (200g)
- 1 tbsp vanilla extract (optional, but highly recommended)
Fun Add-Ins & Toppings (To Taste):
- Fresh fruits, chopped (strawberries, raspberries, kiwi, mango, etc.)
- Rainbow sprinkles or chocolate sprinkles (optional)
Step-by-Step Instructions
Step 1: Blend the Base
In a kitchen blender, combine the whole milk, sweetened condensed milk, heavy cream, and vanilla extract. Blend on high speed for 1 to 2 minutes until the mixture is completely smooth, airy, and uniform.
Step 2: Choose Your Flavor Spin (Optional)
If you want fruit-flavored ice pops rather than a classic vanilla cream, add your favorite chopped fresh fruits directly into the blender base now and pulse for just a few seconds. Leaving small chunks of fruit adds a wonderful texture!
Step 3: Prep the Molds
If you are making colorful fun pops for the kids, drop a small pinch of rainbow sprinkles into the very bottom of each ice pop mold before pouring.
Step 4: Pour and Freeze
Carefully pour the blended cream mixture into your ice pop molds, leaving a tiny bit of space at the top for expansion as they freeze. Insert the popsicle sticks and place them flat in your freezer for at least 4 hours, or until they are completely solid.
Step 5: Unmold and Enjoy
When you are ready to serve, fill a large bowl with warm water. Dip the bottom of the ice pop molds into the warm water for 5 to 10 seconds (be careful not to let water get into the pops!). Gently pull the sticks, and your creamy homemade ice pops will slide out flawlessly!
Grandma’s Expert Tips & Variations
- The Fresh Fruit Slices Visual: For a beautiful, picture-perfect look that stands out on social media, press thin slices of fresh strawberry or kiwi directly against the inside walls of the molds before pouring in the liquid base.
- No Molds? No Problem!: If you don’t own traditional plastic popsicle molds, you can use small disposable paper cups. Simply pour the mixture into the cups, cover the tops with a small sheet of aluminum foil, and poke a wooden popsicle stick right through the center of the foil to keep it standing straight while freezing.
- Chocolate Shell Upgrade: Want to take these to the next level? Melt some dark chocolate with a teaspoon of coconut oil in a tall glass. Dip your fully frozen cream pops into the melted chocolate—it will harden into a crunchy gourmet shell instantly!
Share Your Creations!
Which flavor combination did you try? Leave us a comment down below to tell us your favorite add-ins, rate this recipe 5 stars, and share your beautiful homemade ice pops on Pinterest!