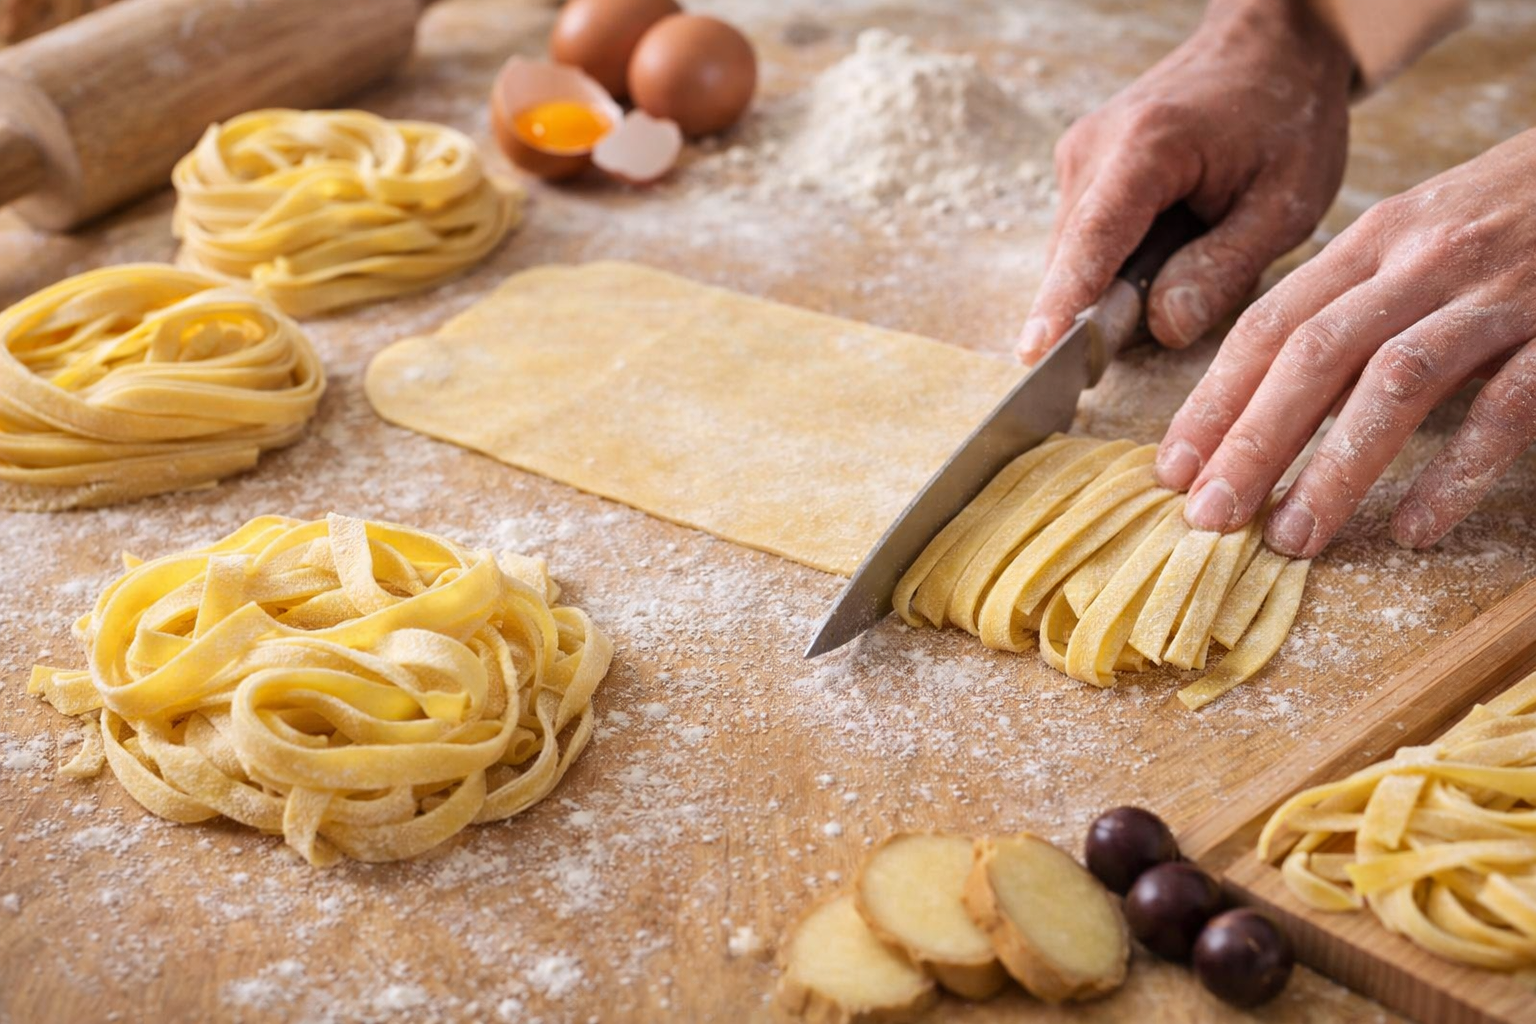
Making fresh, artisanal pasta from scratch is one of the most rewarding culinary traditions you can bring into your home kitchen. Once you have successfully rolled out your beautiful, thin sheet of pasta dough (sfoglia), the magic truly happens during the cutting process.
Cutting perfect, elegant strands of tagliatelle doesn’t require an expensive machine attachment. Using a simple, centuries-old Italian folding method, a sharp kitchen knife, and a bit of care, you can create gorgeous, restaurant-quality pasta nests that hold sauce beautifully. Here is exactly how to do it.
Why This Cutting Technique Works
- Zero Sticking: Dusting and letting the dough air-dry slightly ensures the strands cleanly separate without clumping together.
- Flawless Unrolling: Lifting the rolled dough from the exact center allows the fresh pasta to cascade down smoothly and evenly from both sides.
- Versatile Framework: Mastering this single, basic method allows you to cut multiple types of classic Italian pasta shapes by simply adjusting your knife width.
Step-by-Step Cutting Instructions
Step 1: The Air-Dry Rest
After rolling out your sheet of fresh pasta dough to your desired thickness, let it sit undisturbed on your workspace to air-dry slightly. Keep a close eye on it—you want the surface to lose its stickiness, but it should remain completely pliable. If it dries out too much, it will crack when you fold it.
Step 2: Dust and Roll
Generously dust the surface of the dough sheet with a handful of flour (semolina or all-purpose flour works perfectly) to prevent any sticking. Starting from the outer edge closest to you, loosely roll the dough forward until you reach the exact center of the sheet. Repeat the process from the opposite far edge, rolling inward until both rolls meet perfectly in the middle.
Step 3: Slice to Width
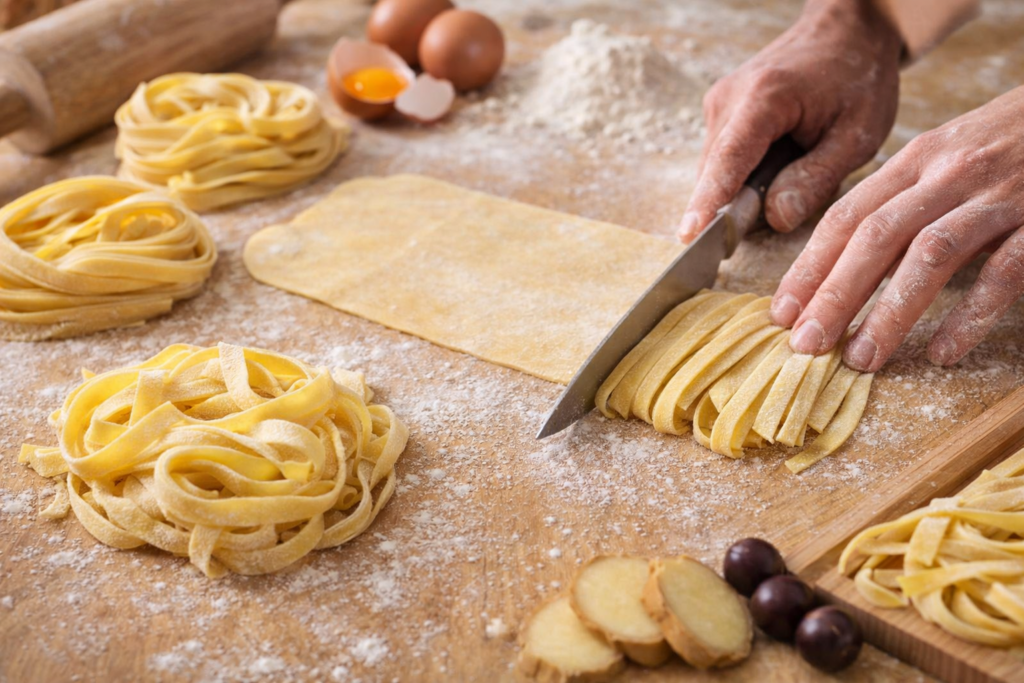
Using a very sharp chef’s knife, cut straight down across the rolled dough to your desired thickness. For traditional, authentic tagliatelle, aim for a width of about 6 mm to 8 mm (roughly ¼ inch).
Step 4: The Center-Lift Unroll
Slide the blunt back edge of your knife completely underneath the center where the two rolls meet. Gently lift the knife straight up into the air. The weight of the dough will cause the strands to gracefully unroll simultaneously from both sides into perfect, long ribbons.
Step 5: Shape the Nests
Gather a loose portion of the unrolled ribbons in your hand, swirl them into a small, loose mound resembling a bird’s nest, and place them onto a fine mesh sieve or a flour-dusted tray to preserve their shape.
The Master Pasta Cutting Cheat Sheet
By using this identical preparation method, you can effortlessly expand your Italian menu simply by changing the width of your knife cuts:
| Pasta Type | Cut Width Description | Best Sauce Pairing |
| Tagliolini | Very thin, delicate strands (approx. 2-3 mm) | Light butter, white wine, or seafood sauces |
| Tagliatelle | The golden medium ribbon (approx. 6-8 mm) | Classic, rich Bolognese ragù or meat sauces |
| Pappardelle | Wide, rustic ribbons (approx. 2-3 cm) | Heavy, robust wild boar, mushroom, or game stews |
Grandma’s Cooking & Storage Tips
- The Best Flour for Dusting: When rolling and cutting pasta, try using Semolina flour (sêmola) for dusting. It is coarser than standard flour, which means it coats the dough beautifully without being absorbed, preventing clumping completely.
- How to Store Fresh Nests:
- Short Term: Keep the pasta nests spread out on a sieve or mesh tray at room temperature for up to 2 hours before cooking.
- Long Term (Freezing): Place the shaped nests on a baking sheet and freeze until completely solid. Once frozen, transfer the nests into a sealed plastic freezer bag. You can cook them straight from frozen in boiling water—no thawing required!
Let’s Cook Together!
Did your pasta unroll perfectly? Leave us a comment down below to share your fresh pasta success, rate this culinary guide 5 stars, and make sure to pin this technique to your favorite Italian cooking boards on Pinterest!