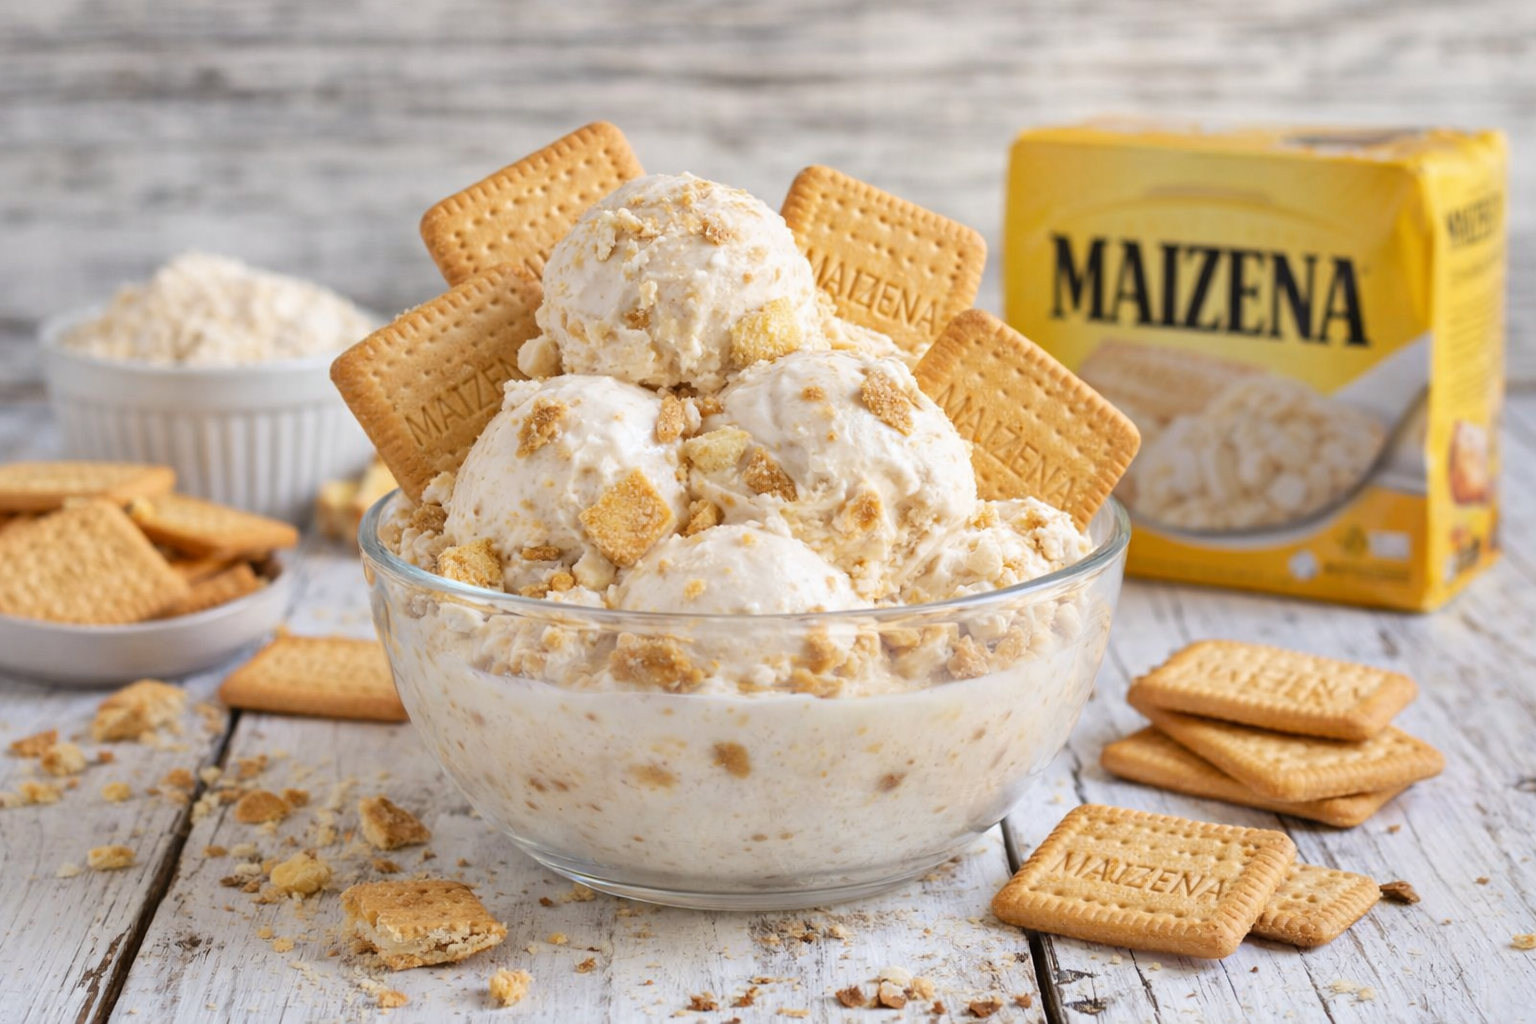
Few things bring back fond childhood memories like the comforting taste of traditional sweet biscuits. This homemade Maizena biscuit ice cream transforms a simple pantry staple into a rich, velvety, and incredibly refreshing frozen dessert.
Using a clever dual-blend technique, this recipe achieves a wonderfully scoopable texture without the need for an expensive ice cream maker. It is the perfect sweet treat to wrap up a family Sunday lunch or to beat the afternoon heat with a spoonful of pure nostalgia.
Why This Recipe Works
- No Ice Cream Maker Needed: A standard household blender is all you need to get that perfect, airy, and creamy consistency.
- Rich Texture Blend: Combining condensed milk, heavy cream, and evaporated milk creates a balanced fat content that prevents large ice crystals from forming.
- Warm Nostalgic Flavor: The subtle malted sweetness of Maizena biscuits pairs perfectly with a touch of vanilla, tasting just like Grandma’s kitchen.
Ingredients
- 2 packages Maizena biscuits (200g each)
- 1 can sweetened condensed milk (395g)
- 1 box heavy cream / media crema (200ml)
- 1 box evaporated milk (200ml)
- 1½ cups whole milk (350ml)
- 1 tsp vanilla extract (optional)
- Fresh berries or sliced fruits for garnish (optional)
Step-by-Step Instructions
Step 1: Crush the Biscuits
Place the Maizena biscuits into a food processor or a high-powered blender. Pulse until they are completely broken down into a fine, sandy crumb texture.
Step 2: Mix the Ice Cream Base
In a large mixing bowl, combine the fine biscuit crumbs, sweetened condensed milk, heavy cream, evaporated milk, whole milk, and the vanilla extract (if using). Whisk thoroughly until you have a completely smooth and uniform cream.
Step 3: The First Freeze
Pour the mixture into a freezer-safe plastic container with a tight-fitting lid. Place it in the freezer for at least 4 hours, or until it becomes firm and partially set.
Step 4: The Secret to Total Creaminess
Remove the semi-frozen cream from the freezer and transfer it back into your blender. Blend on high speed for a few minutes. This crucial step breaks up any ice crystals and incorporates air, turning the mixture into a beautifully light and scoopable ice cream.
Step 5: Freeze and Serve
Return the whipped ice cream to the container, smooth the top, cover, and freeze until fully set (about 2–3 more hours). Scoop into bowls, garnish with fresh fruits or a few extra biscuit crumbs if desired, and enjoy immediately!
Grandma’s Expert Tips & Variations
- Biscuit Substitutions: If you cannot find traditional Brazilian Maizena biscuits in your local market, Maria biscuits or classic Graham crackers make an excellent substitute with a very similar flavor profile.
- Add a Ribbon of Texture: For a gourmet twist, layer spoonfuls of dulce de leche (doce de leite) or chocolate fudge sauce into the container right after the final blending step to create beautiful, sweet swirls throughout your ice cream.
- Keep It Soft: Because homemade ice cream doesn’t contain chemical stabilizers, it can freeze quite solid over a long period. Simply let the container sit on the kitchen counter for 5 to 10 minutes before scooping for the perfect texture.
Rate This Recipe!
Did this dessert bring back sweet memories? Leave us a comment down below to share how your homemade ice cream turned out, give it a 5-star rating, and save it to your favorite Pinterest boards!